How to Publish Your App on the Apple App Store
Publishing your mobile app on the Apple App Store is a major step in turning your idea into a product used by real people. With millions of active users worldwide, the App Store offers a powerful platform for developers and businesses to distribute iOS applications. However, Apple’s publishing process is known for being detailed and rigorous, and for good reason — Apple prioritizes user experience, security, and quality. In the field of iOS development, this step is often one of the most critical and challenging. Eldevelop helps you navigate this journey from start to finish, providing guidance, technical support, and assistance at every stage to ensure your app gets published successfully.
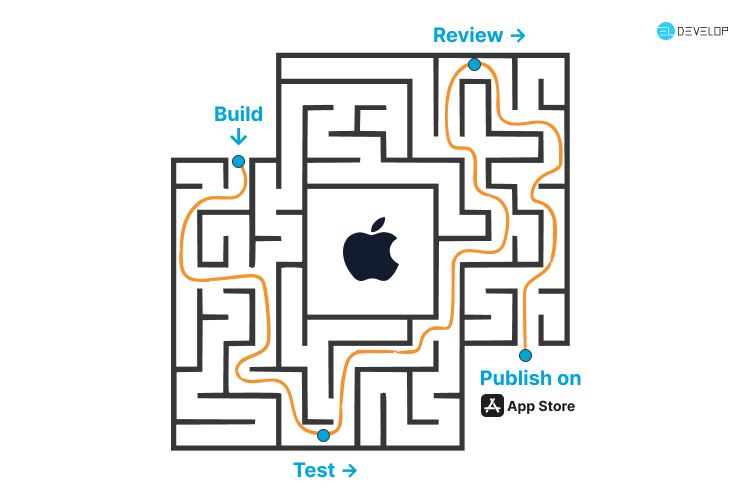
In this article, we’ll guide you step by step through the full process of publishing your app to the Apple App Store — from enrollment to release.
Step 1: Join the Apple Developer Program
Before you can publish an app, you need to enroll in the Apple Developer Program. This is a mandatory requirement and gives you access to development tools, beta testing features, and the App Store publishing platform.
The program costs $99 per year and requires an Apple ID. If you are publishing as a business, you’ll also need to register as an organization, which involves providing a D-U-N-S number and legal business details.
Once your enrollment is complete, you’ll gain access to App Store Connect — Apple’s portal for managing your app and its presence on the App Store.
Step 2: Prepare Your App for Submission
Your app must be fully functional, free of critical bugs, and compliant with Apple’s App Store Review Guidelines. Testing is key.
Make sure your app:
-
Is built using the latest version of Xcode.
-
Has a unique Bundle Identifier and valid code signing certificates.
-
Works correctly across all supported devices (e.g. iPhone, iPad).
-
Uses the appropriate version and build numbers.
-
Includes an app icon and screenshots for all screen sizes.
-
Has a clear purpose and intuitive user experience.
-
Includes a Privacy Policy (especially if your app collects user data).
At this stage, it’s also important to finalize your app name, keywords, and basic branding elements.
Step 3: Create a New App in App Store Connect
Once your app is ready, log in to App Store Connect and create a new app record.
Here’s what you’ll need to provide:
-
App Name
-
Primary Language
RelatedWhy Your Business Needs a Mobile Development Company
-
Bundle ID (must match the ID used in Xcode)
-
SKU (a unique internal tracking code)
-
Platform (iOS, iPadOS, or both)
After creating the app, you can begin entering additional details such as descriptions, support links, and category selections.
Step 4: Upload Your App Using Xcode
Next, return to Xcode to archive and upload your app build.
-
Open your project in Xcode and select “Any iOS Device” as the build target.
-
From the menu, choose Product > Archive.
-
Once the archive is created, the Organizer window will open. From here, you can validate your app and then upload it to App Store Connect.
After a successful upload, the app build will appear in your App Store Connect dashboard within a few minutes to an hour, depending on processing time.
Step 5: Fill in App Information and Metadata
Now it’s time to complete your app’s store listing. In App Store Connect, fill in the required fields:
-
App Description – A detailed overview of what your app does.
-
What’s New – If it’s an update, list the changes and improvements.
-
Keywords – Used to improve App Store search visibility.
-
Support URL – A website where users can get help or contact support.
-
Marketing URL – Optional link to your app's landing page or website.
-
App Screenshots – Required for each supported screen size.
-
App Preview Video – Optional but recommended for engagement.
-
App Privacy Details – Explain what data your app collects and how it’s used.
-
Age Rating – Based on content and functionality.
Be as clear and honest as possible in this section — misleading information can lead to app rejection.
Differences between Android and iOS App Testing
Step 6: Submit the App for Review
Once your metadata and app build are in place, you can submit your app for Apple’s review process.
Before submission, you’ll need to:
-
Select the uploaded build.
-
Answer Apple’s export compliance questions.
-
Confirm content rights, advertising use, and other declarations.
Click “Submit for Review” and your app will enter Apple’s review queue. The review can take anywhere from a few hours to several days. Apple may contact you with questions or request changes if your app doesn’t fully comply with guidelines.
Step 7: Release Your App
After your app is approved, you can release it to the public. You have several options:
-
Manual release – You control when the app goes live.
-
Scheduled release – Set a specific date and time.
-
Automatic release – The app is released immediately after approval.
Once released, your app will appear in the App Store, searchable and downloadable by users around the world.
Post-Launch: Monitor and Improve
Publishing your app is only the beginning. After launch, keep a close eye on:
-
User feedback and ratings – These help guide your next updates.
-
Crash reports and performance metrics – Available in App Store Connect.
-
Analytics – Understand how users interact with your app.
Regular updates and communication with users show commitment and improve retention. Even small improvements can make a big difference over time.
Publishing an app on the Apple App Store is a structured but rewarding journey. While the process may seem complex at first, each step is designed to ensure that only high-quality, secure, and useful apps reach Apple users.
By following this guide — from joining the developer program to submitting your app and monitoring performance post-launch — you’ll be well on your way to delivering a polished product to the global iOS audience.
Whether you’re an indie developer or part of a larger team, careful planning and attention to detail are the keys to a successful App Store launch.